How to Choose a Thermal Monocular or Thermal Scope
Stepping into thermal optics can feel overwhelming: so many specs, so many models, and marketing that claims “see to 2,000 m!” But the real question is: what do you need it to do in your terrain, in your climate, at your distances? In this guide, I’ll walk you through how to interpret the key specs (sensor, NETD, optics, magnification, reticles, power, durability), show how real-world trade-offs matter, and map out Pulsar’s product families to example use cases—from scouting with a compact monocular to pushing long-range with a premium thermal scope.
1. Monocular vs Scope: What Role Do You Need?
Thermal devices generally fall into two camps:
- Monocular / Handheld / Scouting use: compact, easy to carry, good for scanning and early detection.
- Scope / Aiming device: mounts on your gear, often includes reticles, ballistic tools, and is built for recoil and aiming precision.
A common approach: use a 'monocular for spotting', then a 'scope for engagement'. But if you prefer a single device that can do both, a well-chosen thermal scope may be the better all-in-one. The rest of this guide helps you choose which path suits you.
2. Key Specs & What They Really Mean
Sensor Resolution, Pixel Pitch & NETD (Sensitivity)
- Resolution (e.g. 384×288, 640×480, 1024×768): more pixels = more detail, especially important at range. - Pixel pitch (µm): how densely the pixels are packed. Smaller pitch (e.g. 12 µm vs 17 µm) often allows higher magnification. - NETD (Noise Equivalent Temperature Difference): lower values (e.g. < 20 mK) mean the sensor can detect finer temperature differences.
In real use, a high resolution with a good NETD helps you identify limbs, ears, or small animals even when background-contrast is low.
Optics & Lens (Diameter, F-ratio)
- A larger objective diameter gathers more thermal energy — improving brightness and clarity. - A faster lens (lower f-number) helps when contrast is weak. - Optical quality (coatings, glass, alignment) affects sharpness across the field.
The trade-off: bigger lenses are heavier, more costly, and less suited to handheld use.
Magnification, Field of View & Digital Zoom
- Magnification helps with identification, but only if the sensor/optics support that detail. - Field of view (FoV): a wider FoV is better for scanning; a narrow FoV may hamper acquisition. - Digital zoom is interpolation — useful for framing, not materially improving detail.
For scopes, a useful zoom range (e.g. 2–16×, 3–24×) is ideal. For monoculars, keep magnification moderate (e.g. up to ~8×) for scanning usability.
Detection / Identification / Engagement Range
Manufacturers often quote detection range (e.g. a human silhouette at 1,800 m). But detection ≠ identification ≠ accurate placement. Real conditions (heat haze, humidity, foliage) will reduce that. Use quoted ranges as very optimistic benchmarks, not guarantees. They are useful to compare different models in the same range, but have nothing to do with a useable range.
Reticle, Ballistic Tools & Laser Rangefinders (LRF)
- A good reticle system (adjustable, zeroable) is fundamental in a scope. -Ballistic compensation / calculators let you adjust for range, holdover, drop etc. - A built-in laser rangefinder (LRF) helps you get precise distances, especially for longer distance. - Advanced features: picture-in-picture, dynamic reticle adjustments, app integration, etc.
If you intend to work at distance, these tools are not optional — they’re vital.
Power & Battery Life
Thermal devices draw significant current. Key things to check:
- Realistic run time (hours) under moderate to cold conditions.
- Ability to hot-swap batteries in the field.
- Support for external power (USB, power banks).
- Battery performance in colder weather (batteries degrade in cold!).
Durability, Ergonomics & Usability
- Weather sealing (e.g. IP ratings), shock resistance (for recoil), sturdy housing. - Ergonomic placement of controls and menu interface. - Weight and balance (especially for handheld use). - Firmware updates, spare parts, local support (Australia).
A rugged, dependable build may serve you longer than “extra metres” in specs.
3. Pulsar’s Product Lines & Example Models
Pulsar is a European Brand which is well established in Australia, with good dealer support, warranty and service facilities. Wolf Eyes sold Pulsar from before they supplied Thermals, only night vision, then when Pulsar released the world's first civilian thermal Wolf Eyes sold that in Australia. Below is how their models line up with some different uses.
Compact / Scouting Class
- Pulsar Axion Compact — ultra-compact handheld thermal monoculars. Ideal for scanning, wildlife observation, movement detection, patrolling property.
Monoculars with Extra Features
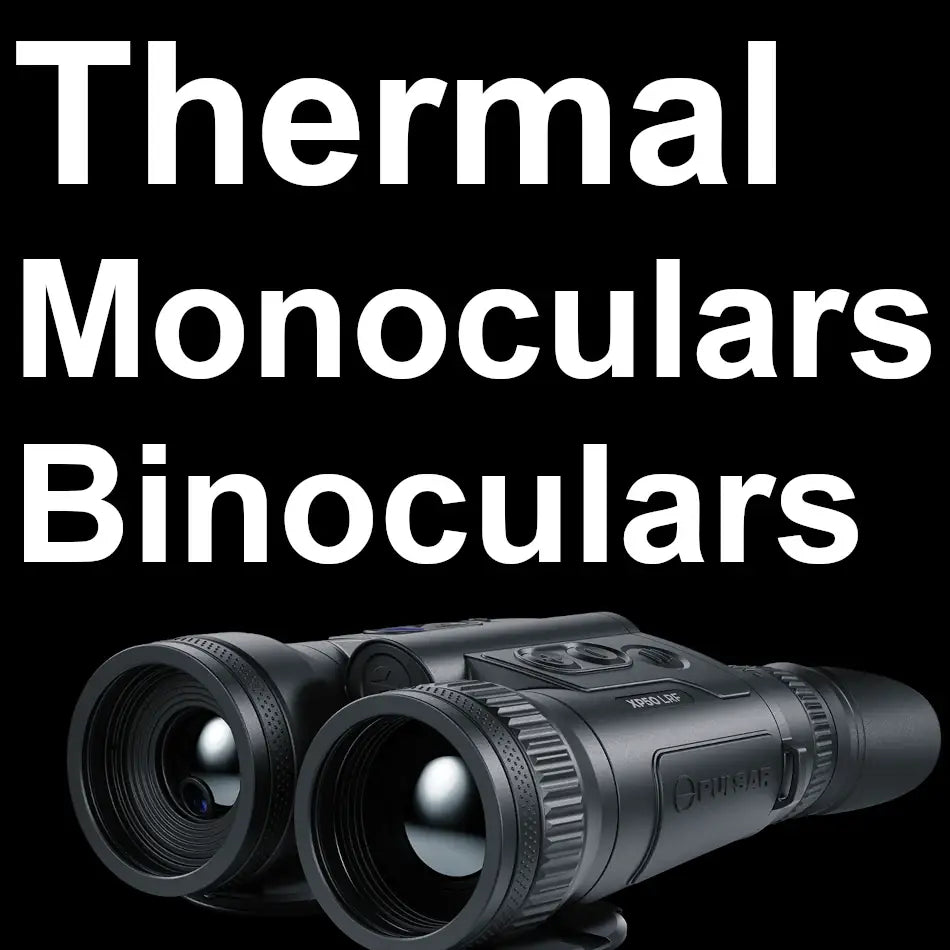
- Pulsar Telos LRF — a handheld monocular with built-in laser rangefinder and modular future upgrades. For example, Telos LRF XP50 (50 mm lens) is one current option.
- Pulsar Oryx LRF — ergonomic shape, one-handed usability, LRF built in.
Thermal Scopes
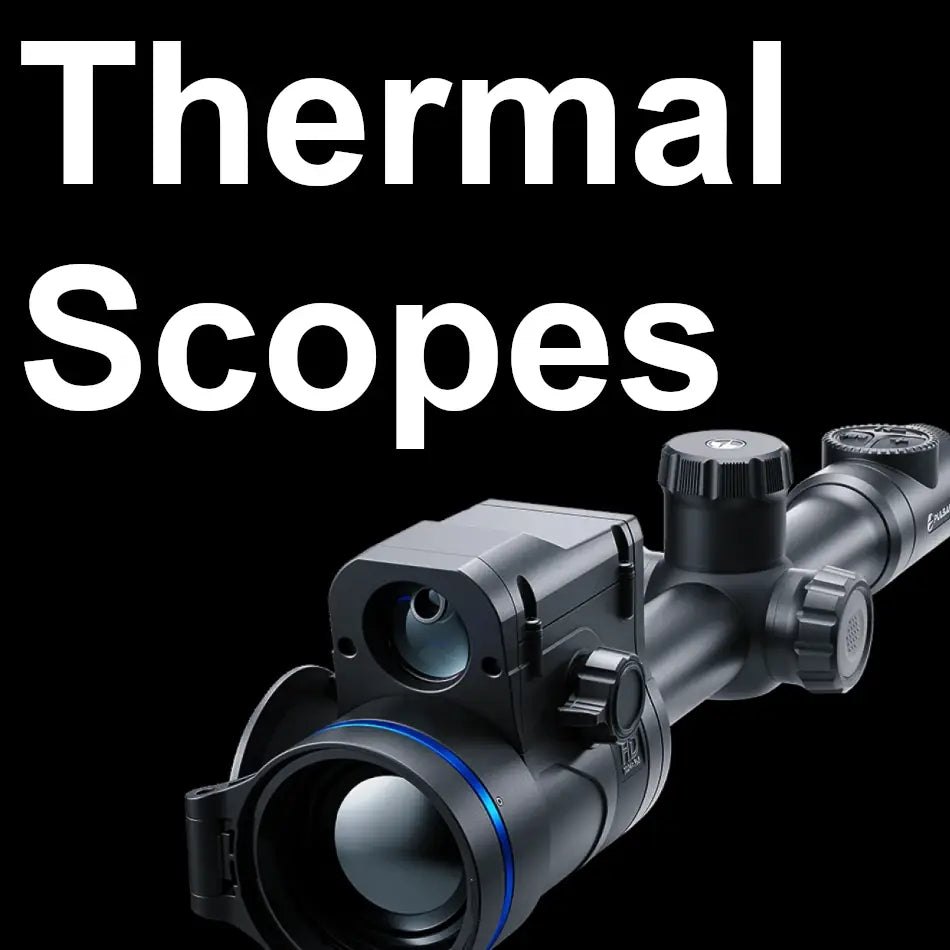
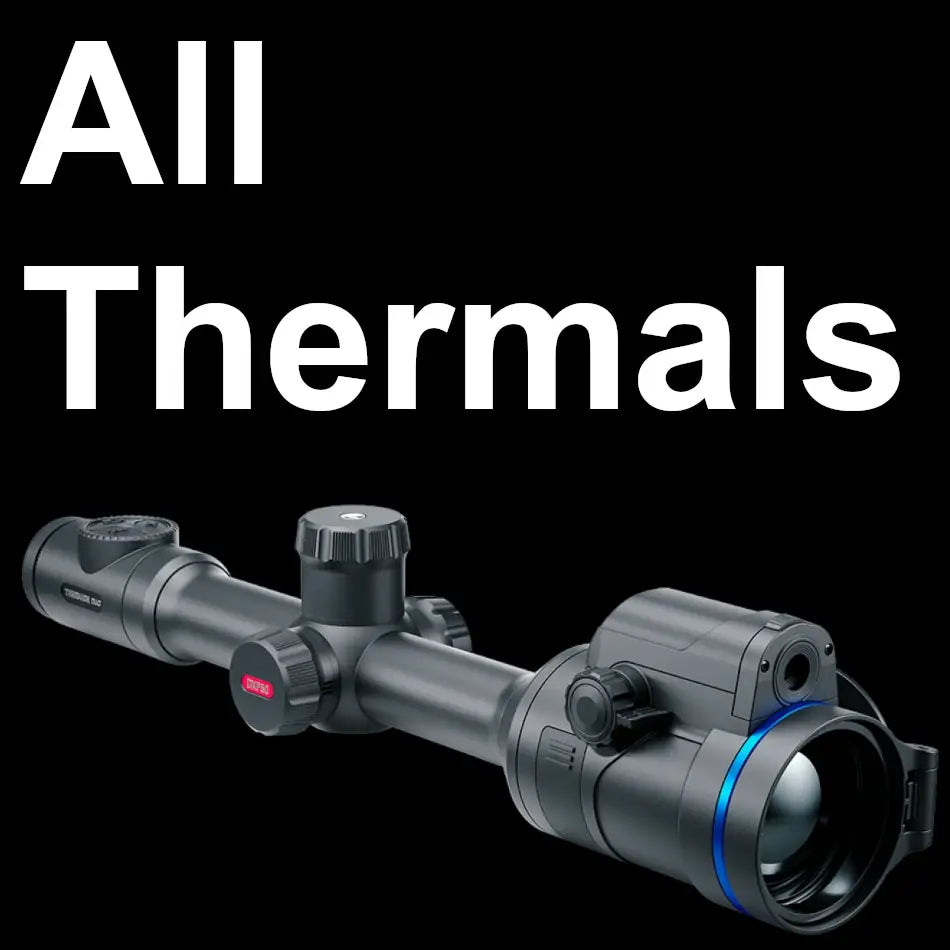
The Thermion 2 line is Pulsar’s dedicated scope range, combining optics, reticles, ballistic tools, and sensors. Some notable models:
- Thermion 2 XG50 LRF — 640×480, 12 µm sensor; zoom range and built-in LRF for mid-to-long distance.
- Thermion 2 XL60 LRF — flagship with 1024×768 “HD” sensor and 60 mm objective lens for longer range and more detail.
- Thermion 2 XP50 Pro LRF — solid all-rounder combining good detection range with usable features.
- Thermion 2 XQ35 / XQ50 — entry-level scopes in the Thermion family for lighter rifles or shorter ranges.
For instance, the Pulsar Thermion 2 LRF XP50 Pro is often presented as a balanced, mid-tier option.
4. Comparison Table: Example Pulsar Models
| Model | Type / Role | Sensor / Pixel Pitch | Lens / Magnification | Features / Notes |
|---|---|---|---|---|
| Axion 2 XG35 | Compact handheld | 640×480, 12 µm | ~35 mm fixed | Good sensitivity, for scanning only |
| Telos LRF XP50 | Handheld / upgradeable | 640×480 variant | 50 mm lens | Built-in LRF, module upgrade possible |
| Oryx LRF XG35 | Handheld / ergonomic | 640×480 | 35 mm | One-handed use, LRF built in |
| Thermion 2 XG60 LRF | Thermal5scope | 640×480, 12 µm | 3–24× range | Good mid/high range option |
| Thermion 2 XL60 LRF | Premium scope | 1024×768, “HD” | 2.5–20× / 60 mm lens | Longest range & detail, pricey |
| Thermion 2 XP50 Pro LRF | All-round scope | 640×480 | ~50 mm lens | Solid middle ground, good features |
| Thermion 2 XQ38 / XQ50 | Entry-level scope | 384×288 or variant | Smaller / lighter lens | Lower ranges, great for farmers |
5. Which One Should *You* Choose?
Scenario A: Scouting, General Surveillance, Movement Detection
You want something lightweight and quick in hand to scan property, waterways, fence lines, etc. Choose a compact monocular (Axion series). If you think you may one day need distance measurements, go for a Telos or Oryx LRF (handheld with built-in laser).
Scenario B: Scouting + Pre-Range Planning
You carry a monocular (Telos or Oryx) with rangefinding. You spot, you get a distance, then you replicate that in your scope. This hybrid approach gives you flexibility without relying on a single heavy device.
Scenario C: One Device That Does It All (Spot + Engage)
You want a single device to both detect and aim. Go with a Thermion 2 series scope. For general predator / pest control, go with a XQ50 LRF or a mid-tier model like the XP50 Pro LRF, XP60 LRF or XG60 LRF. It gives you usable range with decent features. For top-tier performance or longer-range precision, the XL60 LRF brings you the highest spec (HD sensor, large lens) but at a higher price point.
Scenario D: Premium / Long-Range Precision
You want the best: maximum detection, greatest detail, full ballistic computing, and built-in LRF. The XL60 LRF is Pulsar’s flagship. If the cost isn't a deal-breaker, this is the top level device.
6. Real-World Tips, Caveats & Australian Considerations
- Don’t trust the “max detection range” blindly: It is detection, not real world usability! Great for comparing similar models within a range.
- Thermal contrast matters: On hot summer nights or when background heat matches your target, performance drops. Low NETD helps, but there are limits.
- Mounting: Use quality mounts. A poor mount ruins performance.
- Battery care in cold weather: Carry spare packs - preferably in your pockets so warm, consider external power, keep batteries warm until use.
- Firmware updates & support: Devices with active firmware development are more future-proof. Because Pulsar has local support in Australia servicing, updates, and spare parts tend to be easier. Wolf Eyes fully supports Pulsar
- Test in your environment: Once you get a unit, test it at known distances, check your zero, experiment in local bush / humidity / heat haze to see how it performs under your Australian conditions.
Conclusion
Choosing a thermal monocular or scope is not simply about going for the highest specs. It’s about matching device strengths to your needs: range, mobility and feral type. A compact monocular is unbeatable for portability; a Telos/Oryx LRF has both scanning and distance estimation; a Thermion 2 scope offers a one-device approach. Use the spec guide above, test in your real terrain, and don’t forget the importance of after-sales support and firmware updates in Australia. Choose for your real scenario, not hype, and you’ll get clearer, more useful thermal vision. As always, please contact us for more information
